10 Simple Moves to Start Solving the Rubik’s Cube
Learning how to solve the Rubik’s Cube may seem daunting, but with a few simple moves and tricks to solve cube, you’ll be well on your way to mastering this classic puzzle. The Rubik’s Cube is not only a fun brain exercise but also a skill that impresses many! In this guide, we’ll break down the first ten moves and techniques that simplify the process of solving a 3×3 Rubik’s Cube, providing a foundation to build on as you get comfortable with the cube’s structure and movements.
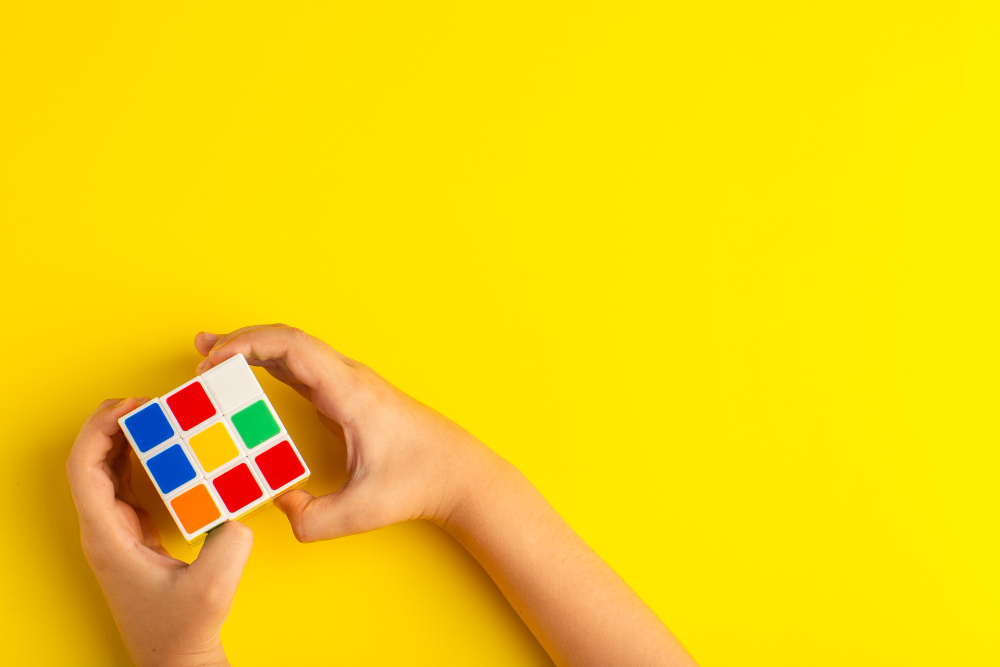
Understanding the Basics of the Rubik’s Cube
Before diving into the moves, it’s essential to understand the structure of the cube. The 3×3 Rubik’s Cube has:
- Centers: The fixed pieces in the center of each face; these indicate the color of each side.
- Edges: Pieces with two colors, found between the corners.
- Corners: Pieces with three colors located at the corners of the cube.
Each move you make impacts the colors on various faces, so keeping track of rotations and understanding the terminology (such as F for front, R for right, U for up, etc.) will be key to solving the puzzle.
Step 1: Solving the White Cross
The first step in any Rubik’s Cube solution is forming a cross on one face, typically the white side. This cross helps align colors and sets up the rest of the puzzle.
Move 1: Create the Daisy
- Hold the cube with the yellow face up.
- Find edge pieces with white stickers and bring them up to form a “daisy” around the yellow center.
Move 2: Form the White Cross
- Rotate the white edge pieces from the daisy to align with their center colors on the adjacent sides.
- Turn the faces to bring each edge piece down to the white face, forming a cross.
Step 2: Solve the White Corners
Now that you have a white cross, it’s time to solve the corners on the white face.
Move 3: Position White Corners
- Locate a white corner piece in the bottom layer. For example, if it’s a white-red-blue piece, position it between the red and blue centers.
- Use a simple algorithm: R’ D’ R D (R prime, D prime, R, D) repeatedly until the white sticker faces up.
Move 4: Check and Rotate
- Repeat this process for each white corner until the white face is complete, with the colors on the sides matching the adjacent center colors.
Step 3: Solve the Middle Layer Edges
With the white layer completed, the next goal is to place the edge pieces in the middle layer.
Move 5: Identify Edge Pieces
- Hold the cube so that the solved white layer is on the bottom.
- Look at the top layer for an edge piece without yellow. For example, if you find a red-blue edge piece, position it above the matching center on the middle layer.
Move 6: Use Algorithms to Insert Edges
- If the edge needs to go to the right, use U R U’ R’ U’ F’ U F.
- If the edge needs to go to the left, use U’ L’ U L U F U’ F’.
- Repeat these moves for each middle layer edge.
Step 4: Solve the Yellow Cross
With the bottom two layers completed, it’s time to form a yellow cross on the top face.
Move 7: Create the Yellow Cross Pattern
- To form a yellow cross, use the F R U R’ U’ F’ move.
- Depending on the yellow pattern (line, L-shape, or dot), repeat the move until a yellow cross forms on the top layer.
Step 5: Position Yellow Edges Correctly
Now that the yellow cross is complete, position the yellow edges to match the colors of the adjacent center pieces.
Move 8: Swap Yellow Edges
- Hold the cube so that two edges are already aligned or almost aligned.
- Use the algorithm R U R’ U R U2 R’ U to swap the yellow edges until all are aligned.
Step 6: Position Yellow Corners
Now, place the yellow corners in their correct locations.
Move 9: Align Corners with Adjacent Colors
- Hold the cube so that a correctly positioned yellow corner (it doesn’t need to be oriented correctly yet) is in the front-right corner.
- Use the algorithm U R U’ L’ U R’ U’ L to cycle the corners until each yellow corner is in the right position.
Step 7: Orient the Yellow Corners
Finally, orient each corner to complete the cube.
Move 10: Rotate Yellow Corners
- With the yellow face still on top, use R’ D’ R D until the corner is correctly oriented.
- Rotate the top face to move the next misaligned corner into the front-right position and repeat until all corners are oriented correctly.
Final Tips for Solving the Rubik’s Cube
- Practice Algorithms: Learning the moves and sequences by heart will make the process faster and smoother.
- Avoid Overturning: Be mindful of each rotation; one incorrect turn can disrupt the entire cube.
- Work in Layers: Remember that solving layer by layer is crucial for beginner-friendly solutions.
- Stay Patient: Solving the Rubik’s Cube takes practice, so don’t get discouraged if it takes time to learn each move.
Mastering these basic moves and algorithms will make solving the Rubik’s Cube much easier. With practice, you’ll be able to work through each step confidently, understanding how each trick to solve the cube contributes to completing it. Eventually, you’ll be solving the cube with speed and style, impressing anyone who watches.


Leave a Comment